DIY: Pine Tar Salve
Pine tar has a very strong scent, but it is highly beneficial for a variety of skin concerns, including eczema, splinters, minor skin irritations, bug bites, dry patches, blistering rashes (such as poison ivy), and more.
Essential oils help cut down the tar scent slightly while also contributing their own individual benefits to the salve. That said, don’t expect the scent to be completely masked. Essential oils that may work well in this salve include frankincense, rosemary, and lemon eucalyptus. Feel free to experiment and see what you prefer. This was my first time using tea tree (antibacterial, antifungal, anti-infectious, anti-inflammatory, and antiseptic), orange (helps support tissue repair and dermatitis), and cedarwood (commonly used for psoriasis and other skin conditions). I actually like the scent this combination produced.
It’s still quite pungent overall, though — so fair warning.
Benefits of Pine Tar:
- Antiseptic
- Anti-inflammatory
- Anti-fungal
- Antimicrobial
Making Pine Tar Salve:
- 2 tsp. Beeswax ( .5 oz.)
- 7 grams Sweet Almond Oil ( .25 oz.)
- 17 grams Pine Tar ( .6 oz.)
- 78 grams Chamomile Infused Olive Oil ( 2.75 oz.)
- 1/4 tsp. Neem Oil
- 10 drops each of Tea Tree, Orange, and Cedar Essential Oil
Directions:
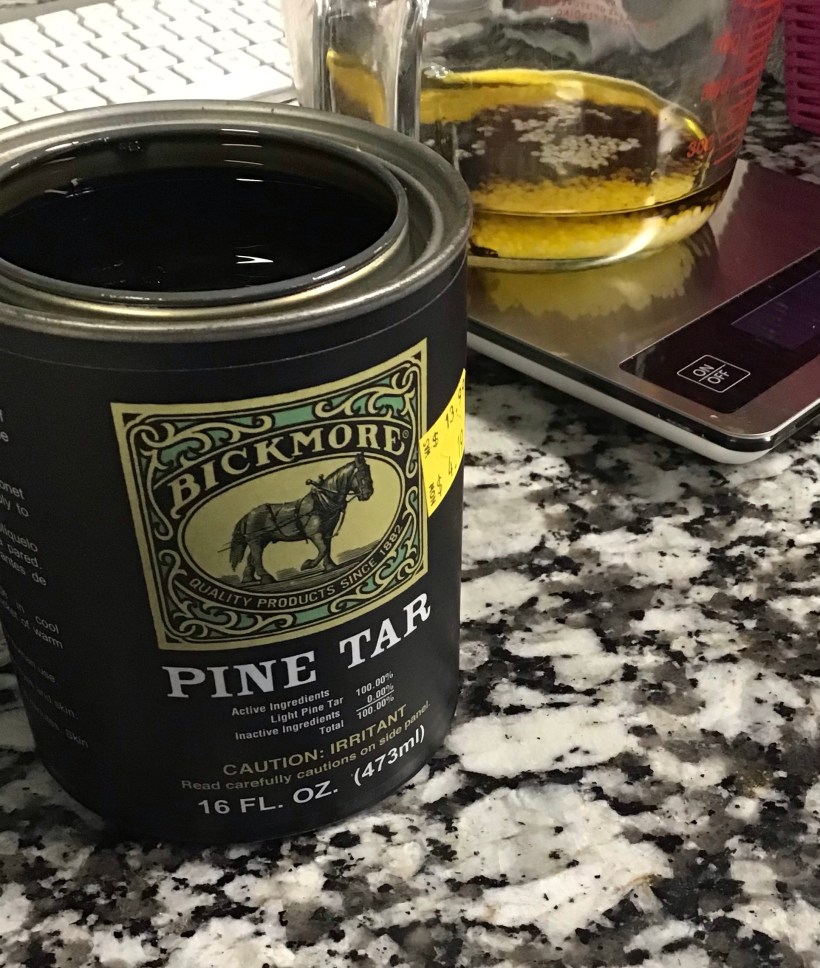 Pine Tar can cause irritation on very sensitive skin; that's why it is best used in prepared herbal remedies, rather than straight on the skin.
Weigh out your ingredients in a heat-proof glass bowl, as shown in the background of the above picture.
In a double boiler, melt the beeswax into the oils.
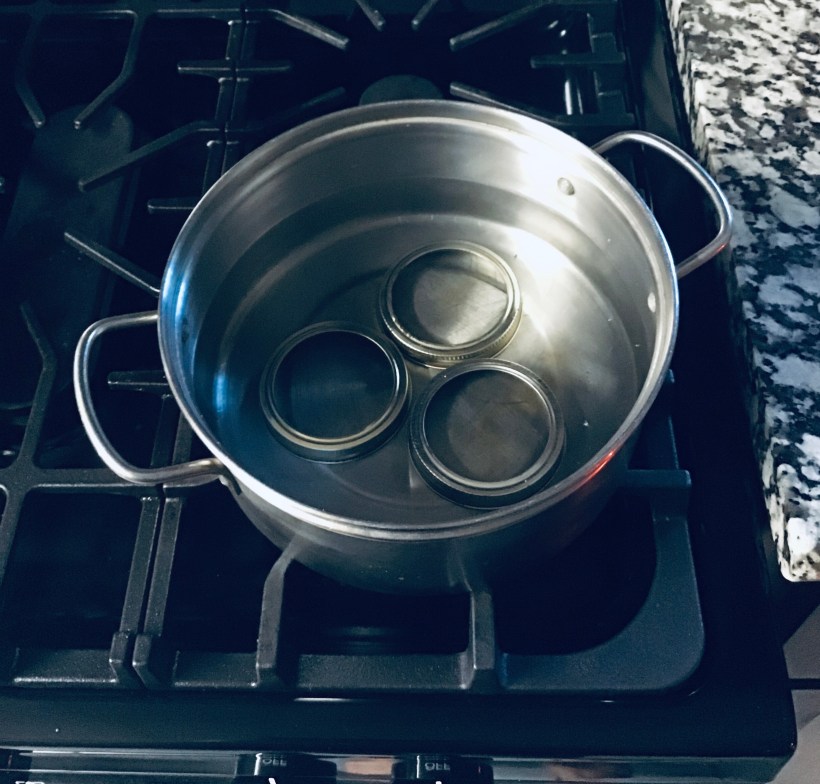 Mason jar rims can be used to raise your bowl off the bottom of the pot, so your oils don’t scorch. You don’t have to have some fancy setup to do this. Use what you have.
 FYI: One single wide-mouth rim is not the best option. 3 regular mouth rims do better. I use a Pyrex 4-cup measuring bowl with mason jar rings to raise the bowl off the bottom of the pot. The single wide-mouth ring I used this time cannot be seen in the picture under the bowl and is not recommended.
Stir occasionally. Once the beeswax is melted, remove it from the heat and let it stand for a few minutes.
Then add your essential oils and stir well.
*Adding essential oils to a solution that is too hot can reduce the efficacy of the oils.
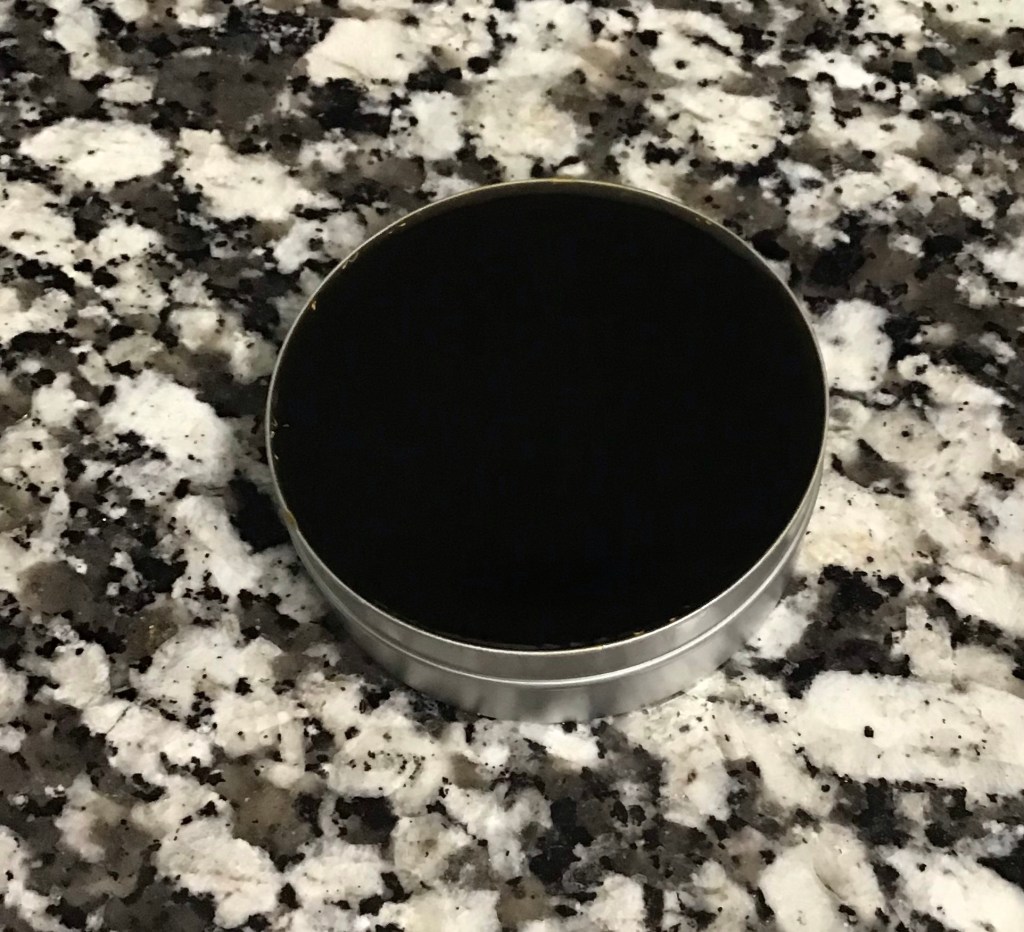
Pour into a 5 oz. jar.
 I used a 4 oz. tin jar and had a little left over, so I recommend the 5-oz. to be on the safe side.
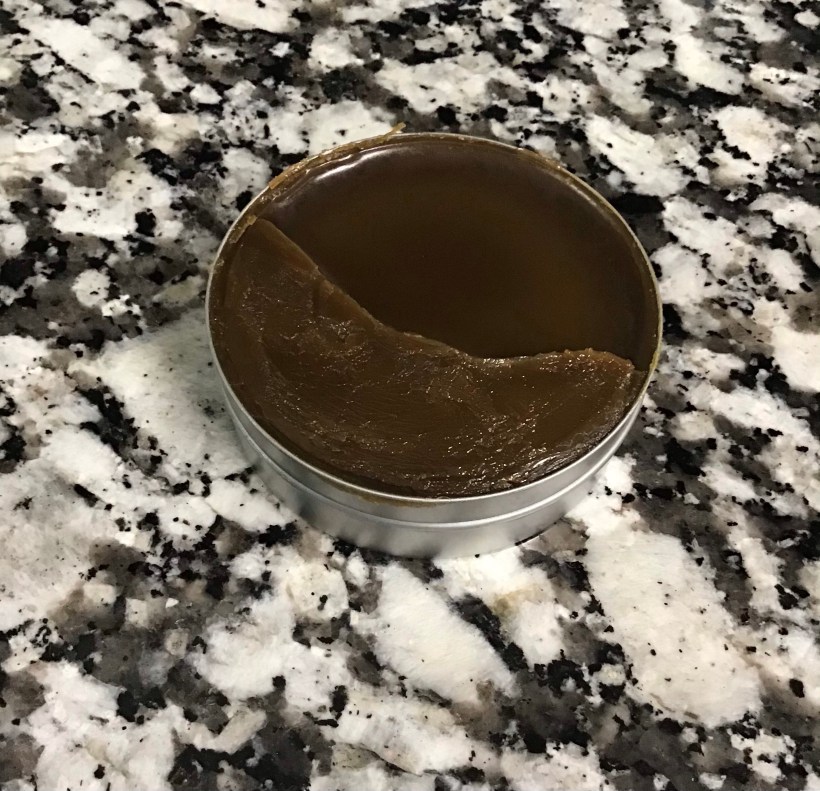 The salve cools to dark brown from the near black you get while it is hot. I stuck mine in the fridge for a few minutes to help it along.
Let your salve cool and harden, and store it in a cool, dry area for up to a year or so. Your salve can last longer, but you want to make sure the oils don’t go rancid. Make a half batch if you don’t think you will use that much in a year.
To use, apply a small amount to minor cuts and scrapes, dry skin, eczema, psoriasis, and other skin ailments. Do not ingest.
In Closing
This salve is a must-have in your first-aid kit. We use it for everything! Bug bites, itchy skin, rashes, poison ivy, scratches, burns, and more. Feel free to comment with any essential oil combinations that you try when making your own salve.
If you find yourself suffering from poison ivy, rinse the area with rubbing alcohol and apply a layer of Pine Tar Salve to soothe the skin and help prevent blistering. The rubbing alcohol helps neutralize urushiol, the compound in poison ivy that causes the rash.